From Reference Photo to Artwork
 Kerri Dixon
Learn how to turn wildlife reference photos into stronger artwork using composition, lighting, cropping and simple photo editing techniques.
From Reference Photo to Artwork: Learning to See the Painting Before You Paint It
One of the things we spent quite a bit of time talking about at my recent art retreat was reference photos.
But not just how to take a good photo.
We were looking at something a little differently:
How do you take a photo with a painting in mind?
When we're out photographing wildlife, it's very easy to become completely focused on the animal. It turns its head towards us, the ears prick up, the light catches its eye and we're immediately snapping away.
And there's absolutely nothing wrong with that. I take hundreds of photos this way!
But when you start thinking like an artist rather than simply someone taking photographs, you begin to notice different things.
You're not only asking:
"Is this a nice photo?"
You're asking:
"Could this become an interesting painting?"
And those are actually two quite different questions.
Look Beyond the Animal
One of the biggest things I encourage my students to do when we're taking reference photos is to stop looking only at the animal.
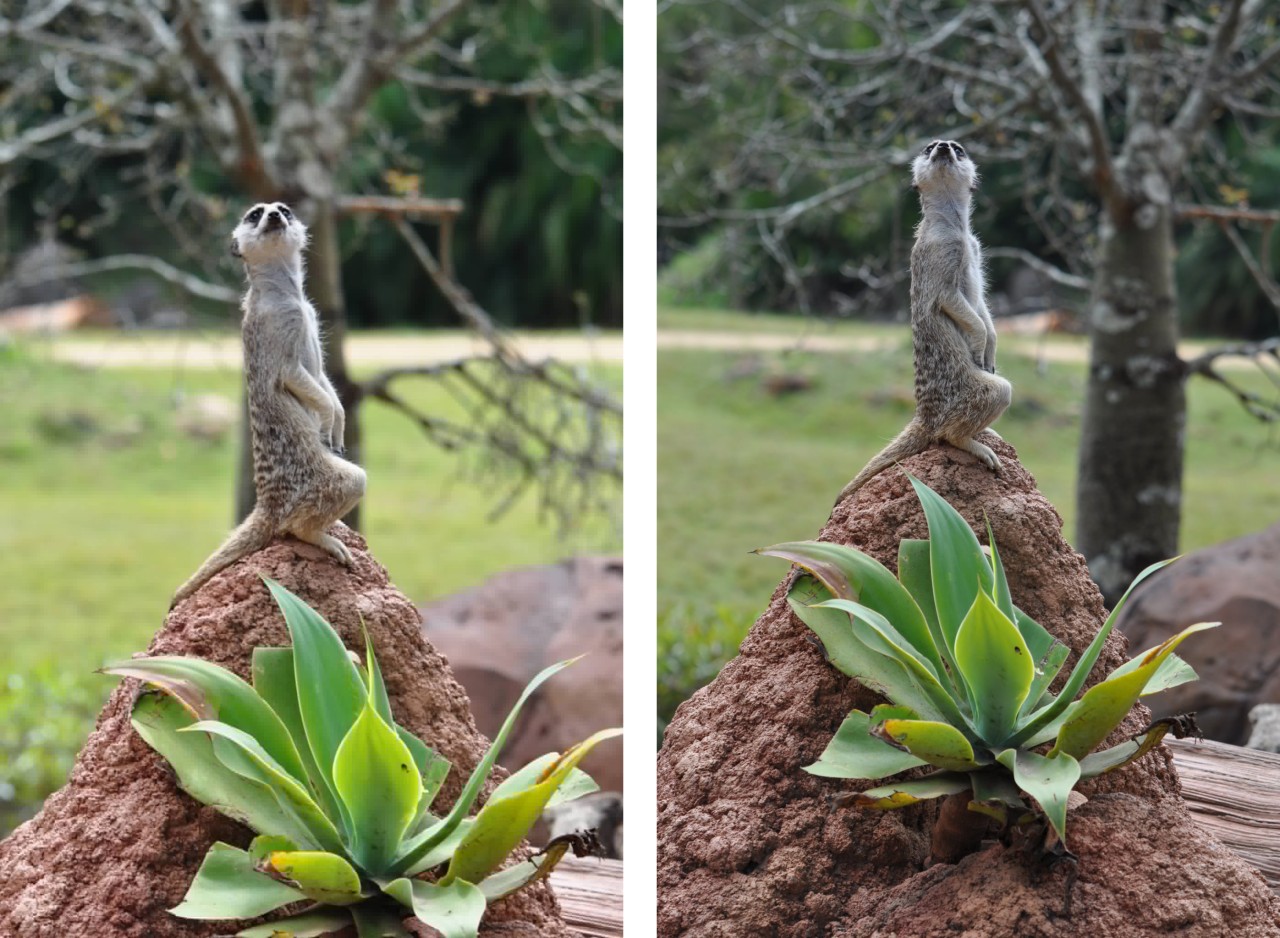
Look at what's happening around it.
What's behind the animal?
Is there a fence post growing out of its head? Is there a bright patch in the background that's going to pull your eye away from the face? Is there a branch cutting awkwardly across its body?
Sometimes moving just a couple of steps to the left or right can completely change your photograph.
But also look for the good things happening around your subject.
Perhaps there are beautiful grasses catching the light. Interesting rocks. Reflections in water. Shadows. Lovely shapes created by branches or foliage.
You may not use all of those things in your eventual painting, but you're starting to gather ideas.
And remember, you don't have to paint everything that's in the photograph.
The camera records everything.
As the artist, you get to decide what stays.
Think About Composition Before You Take the Photo
We're all guilty of putting our subject smack bang in the middle of the frame.
Animal. Centre. Click.
But before you take the photo, think about how you might compose it if it were already a painting.
If the animal is looking towards the left, could you give it more space on that side?
If it's walking, could you give it somewhere to walk into?
Would it look stronger as a vertical composition rather than horizontal?
Could getting closer create a more interesting portrait?
This is where taking lots of variations really helps.
Don't just take one photograph and move on.
Take a horizontal one. Take a vertical one. Move closer. Step back. Put the animal in the centre. Move it towards one side. Photograph the environment as well.
You're not necessarily trying to capture the one perfect reference photo.
You're collecting the ingredients for a painting.
Using the Rule of Thirds
6a9f617fc53c9_lg.jpg)
At the retreat, I showed everyone a really simple technique I use in Procreate.
I have a rule-of-thirds template that I can place over a photograph. I can then move the photograph underneath it, zoom in, crop it and experiment with where I position my subject.
It's amazing how much a photograph can change simply by changing the crop.
You might start with a fairly ordinary photograph of an animal sitting in the middle of the frame. Move the animal across to one of the thirds, crop in a little closer and suddenly the image feels much more intentional.
During this week's Tuesday Art Chat, I'll demonstrate how I do this because it's much easier to understand when you actually see the photograph moving around underneath the template.
Of course, the rule of thirds is exactly that — a guide.
You don't have to use it for every painting. Sometimes a centred composition is exactly what you need.
But it's a wonderful tool for asking:
"What if I put it here instead?"
Don't automatically accept the composition your camera gave you.
Play with it.
Look for Interesting Light
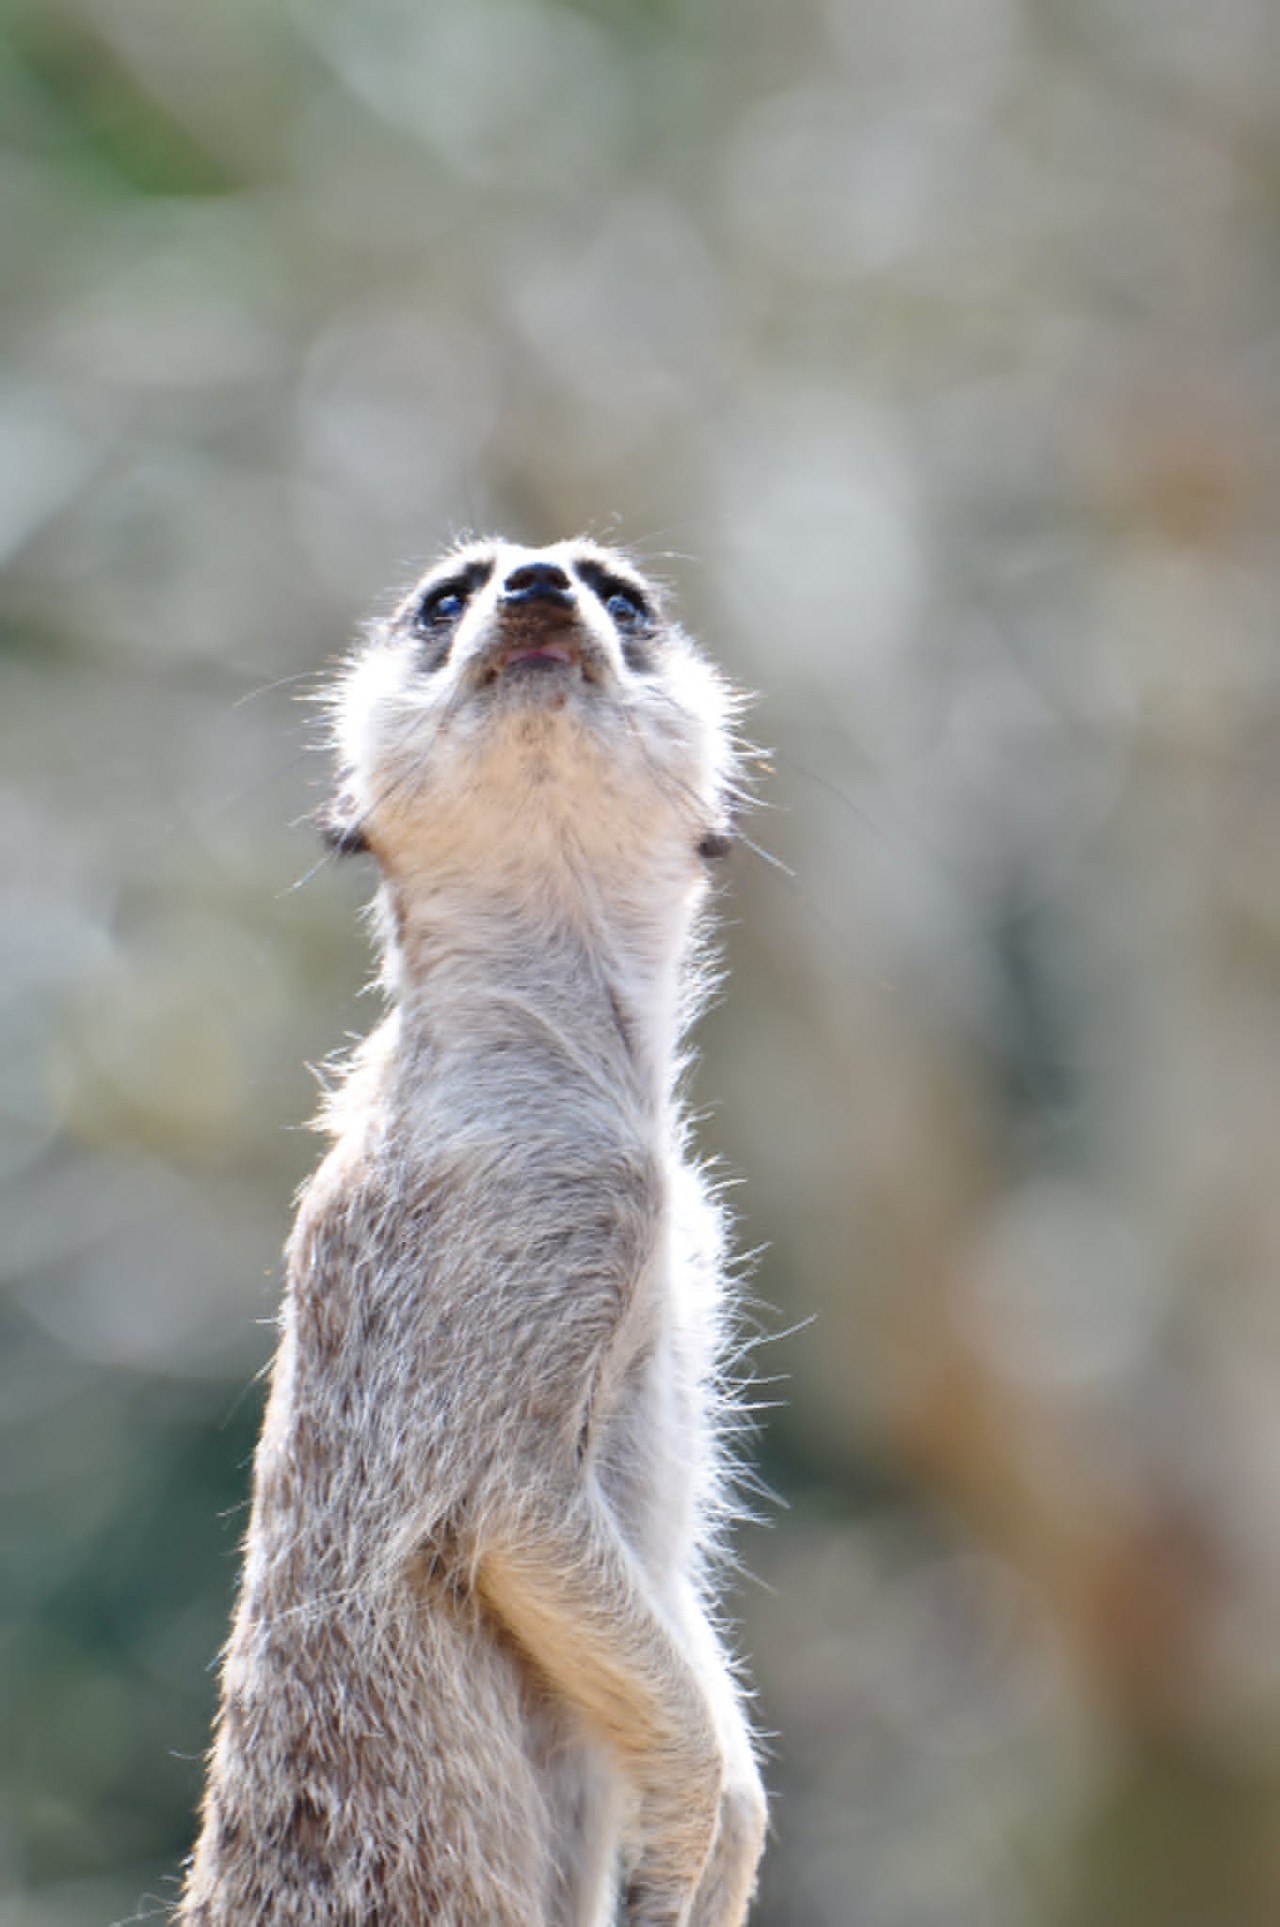
Lighting is another thing I look for when I'm taking reference photographs.
Beautiful light can take an ordinary pose and turn it into something I desperately want to paint.
I love looking for light catching the edge of fur, illuminating whiskers, creating highlights in the eyes or producing strong areas of light and shadow.
Think about:
- directional light
- backlighting
- rim light around fur or feathers
- reflected light
- warm light against cooler shadows
- interesting cast shadows
- highlights in the eyes
Strong directional light can also help describe the form of the animal. You can see the planes of the face, the muscles and the changes in the fur much more clearly.
Flat lighting isn't necessarily bad either.
An overcast day can give you beautifully soft colours and gentle transitions without harsh shadows.
Again, rather than thinking there is one "correct" type of lighting, ask:
"What is this light doing for my painting?"
Does it help tell the story?
Does it create mood?
Does it make the animal feel three-dimensional?
Does it give me something interesting to work with?
Photograph More Than the Perfect Pose
Here's another tip that can save you a lot of frustration later.
Take photographs for information.
You might get the perfect photograph of an animal's face, but one foot is hidden behind a rock.
6a9f62178021e_lg.jpg)
Don't worry.
Keep photographing.
When the animal moves, photograph its feet.
Take a side view.
Photograph the tail.
Get a close-up of the fur.
Photograph the ears from a different angle.
Take some photos of the surrounding environment too.
Later, you might decide photograph number 37 is absolutely the pose you want to paint, but you're not quite sure how that back leg works.
Photograph number 52 might give you the answer.
This is especially important with wildlife because, unlike a human model, you can't exactly say:
"Excuse me, Mr Dingo, could you just go back to that pose and move your back foot slightly to the left?"
They're not particularly cooperative models!
That's why I take lots of photographs.
I'm building a reference library I can use later.
Your Painting Doesn't Have to Match Your Photograph
This is probably the biggest lesson I want artists to take from all of this.
Your reference photo is a starting point. It isn't a set of instructions.
Once I get my photos home and start looking at them as possible paintings, I'll often make changes.
I might crop the image differently.
Move the animal.
Remove distracting objects.
Simplify the background.
Give the animal more room to look into.
Combine information from several photographs.
Strengthen the lighting.
Change colours.
Lose unnecessary detail.
Sometimes I love the animal in one photograph but prefer the background from another.
That's okay.
You're the artist.
And this is where we start moving away from simply reproducing a photograph and towards designing an artwork.
 (6)6a9f6380781d4_lg.jpg)
See It. Capture It. Design It.
I think the whole process can really be broken down into three simple stages.
SEE IT
Before you even pick up the camera, start looking like an artist.
Notice the animal, but also notice the light, background, environment, shapes, colours and potential composition.
CAPTURE IT
Take plenty of photographs.
Try different orientations, viewpoints, crops and distances. Capture details and information that might help you later.
Don't put all the pressure on yourself to capture one perfect photograph.
DESIGN IT
This is where the artist takes over.
Bring your photograph into something like Procreate and experiment.
Move things around.
Try the rule of thirds.
Crop.
Simplify.
Remove distractions.
Ask yourself what you actually want the viewer to notice.
Most importantly, ask:
"How could I make this a stronger painting?"
Start Looking for Paintings
One of the things I really loved about working through this process at the retreat was seeing everyone begin to look at their surroundings differently.
We weren't simply wandering around Australia Zoo taking nice photographs of animals.
We were looking for paintings.
And once you start doing that, you'll find you use your camera differently.
You'll start noticing the light.
You'll move a few steps because you've spotted a better background.
You'll wait for an animal to turn its head.
You'll photograph the environment.
You'll take that extra shot of the feet because you might need it later.
And when you get home, instead of asking:
"Which photo should I copy?"
You can start asking:
"What can I create from all of this?"
That's a much more exciting place to begin a painting.
Kerri xx